Prior to the last crypto rush screwing up the GPU market for people who actually want to, well... y'know; process graphics instead of participating in energy devouring pyramid schemes, I was spent some time upgrading and flipping old Mac Pro towers. Since used GPU prices had mostly returned to normal, I decided to get back into it, but this time with a few new additions - and a lot more pain.
Since I've never documented my work on these machines before, I figure I'd share it since the OG Mac Pros are still somewhat popular computers. This being large part to their exceptional versatility and ease of upgrades, but also because Apple hasn't made a successor that isn't either too damn expensive or too stupidly engineered for it's intended role. Assuming you're fairly adept at PC building (oh I'm sorry; Mac building, but whatever), you can throw one of these rocket ships together for well under two-grand and continue to tweak them into the future, thanks to the work of a very dedicated user base.
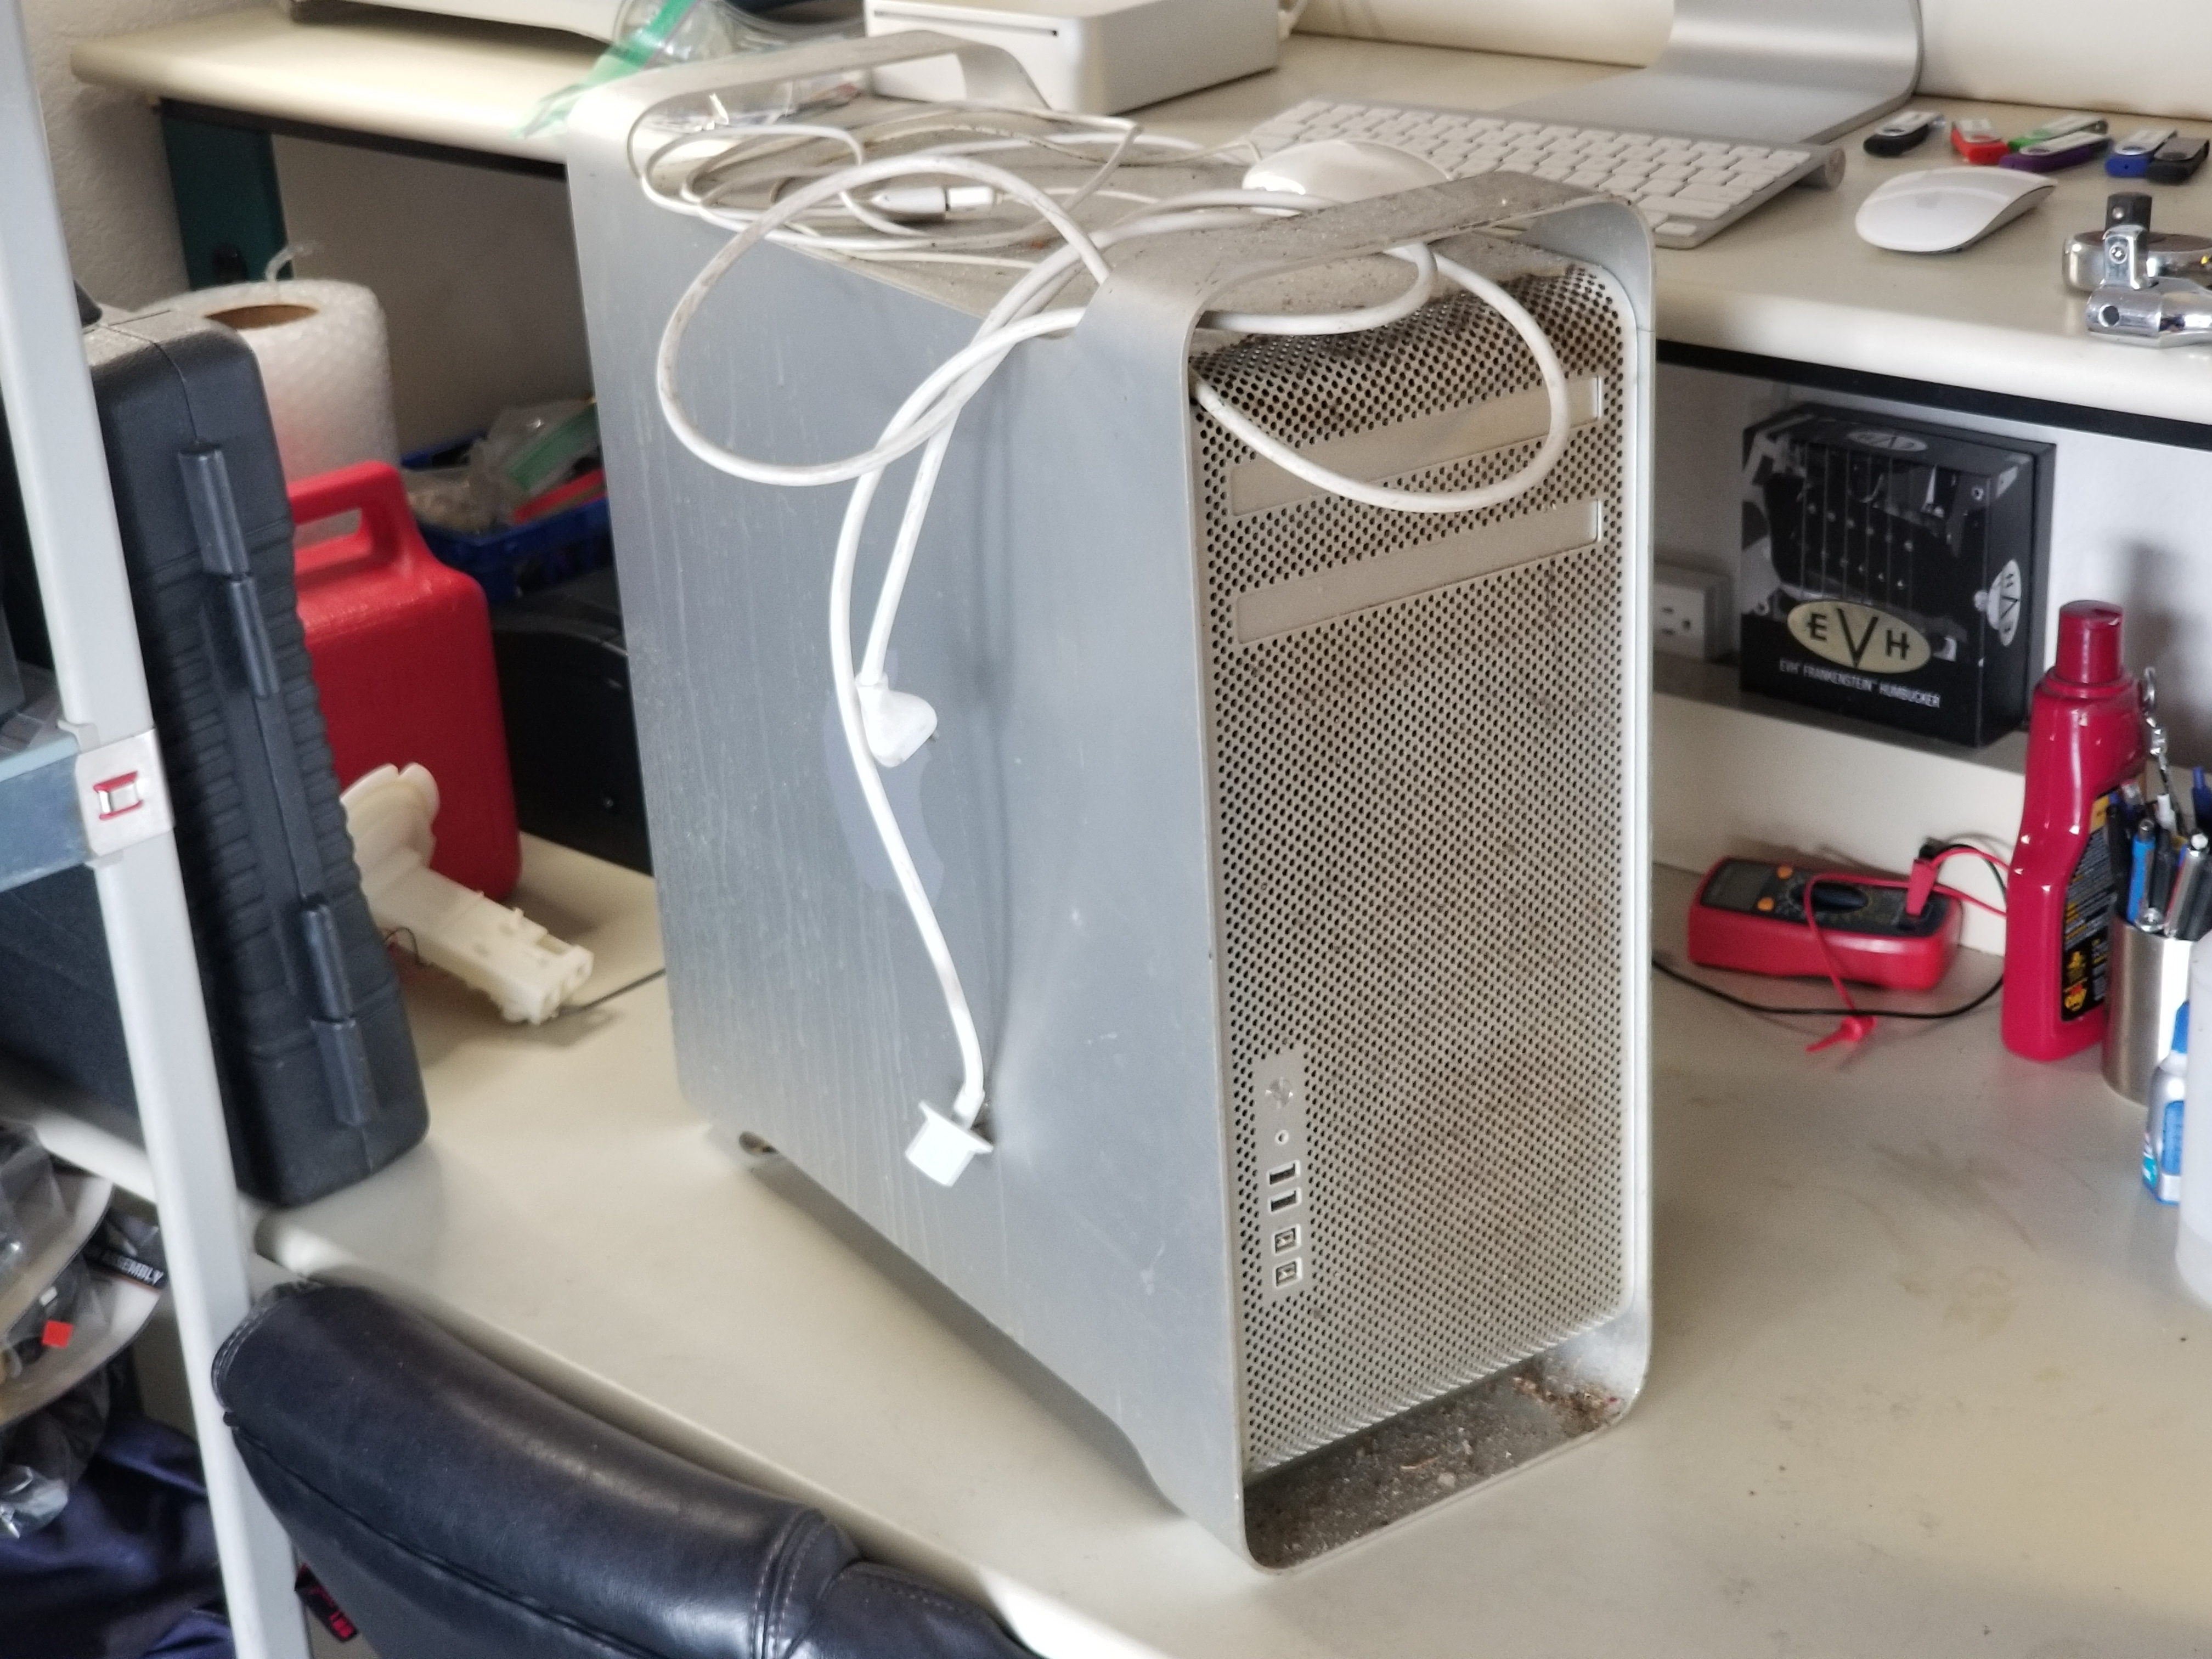
This was a regular sight on my workbench for quite some time.
Back in August of 2022, I decided I wanted to go a little beyond just dumping secondhand parts into a battered aluminum box and calling it a done deal for this particular build. I wanted something that was a little more pleasant to look at, to go alongside the sizable horsepower that was going under the hood. I also wanted to address the age-old issue of the boot screen, which is often a lost feature when upgrading these machines to macOS Mojave.
Of course, I need a starting point, and it's this: a 2009 dual-CPU 4,1 with 16 GB of RAM that I had long ago relegated to office duty at a family friend's restaurant and it was given back since nobody used it anymore. It was a pretty nice machine when I last had it, so how does it look now?
Oh.
Look how they massacred my boy.
Well, what can I expect; it's a bit dirty and it's got a couple new scratches and dings. Not the end of the world and after all, it spent most of the time sitting on the floor being used as shelving instead of actually being worked on. I suppose the internals can't be much worse, right?
OH.
No joke, every inch of the inside of this Mac was like that. That's not just your average years of dust buildup either. That's the byproduct of on and off smoker leaks in the kitchen that have caused this thing to suck in soot filled air for a very long time. The computer literally smelled like it was pulled from the ruins of a burned down house. I'd have probably gotten lung cancer if I powered this thing on as it stood.
Such a problem has only one solution: a complete teardown and clean of the entire tower. That's not exactly a simple task. While the Mac Pro 4,1 is very easy to upgrade, that's only when you consider the typical components Apple expects the end user to screw around with, such as the RAM, GPU and hard drives. Trying to remove the other components beyond that, like the backplane board, drive bracket, the PSU fan, and even something seemingly trivial like the disc drive covers requires you to wade through a mess of inconveniently located screws and fasteners.
Once it's apart, I then had to go through the trouble of disassembling every single filthy component, like the fan brackets, PSU casing, and heatsinks to vacuum and wipe away every bit of filth in the computer. It was a nightmare; trying to scrub out years of nasty, sticky buildup while trying to keep track of every individual piece. The reward though, is a squeaky-clean case ready to be loaded up with equally squeaky-clean components.
Much better, though that exterior still needs work. The outside of the chassis was littered with deep gouges and dents in the aluminum that were all but impossible to restore to it's factory look. This left me with two options. I could paint the case, which would be a massive pain since I'd have to mask everything off and find a place to hang it up without making a huge mess. Or; I decided after looking at a couple other Mac Pros on the internet, I could vinyl wrap it. It'd be faster than painting and I'd get a better looking and more robust surface finish.
Well, that's if you know what the hell you're doing. I've never vinyl wrapped anything before, but I figured the mostly flat exterior of the Mac Pro was going to be a cakewalk.
Here's a hint: it's not.
That was my first attempt. I started by body filling (also a first time ordeal) the deep gouges in the body and sanding those and any other dings I found flush. I then cleaned the case with alcohol and got to wrapping. The removable panel came out okay but the tower was complete bust. I got the material too warped and dirty to stick well, and to top it all off I cut the logo like shit. I think my biggest mistake was not giving myself ample room to work and also not having a big enough tool to push all the air bubbles out. So it was back to Amazon to try again.
The second time I took it nice and slow, laying down a little bit of material at a time and pushing out the bubbles as I went. I also spent more time lining my stencil up for the logo and trying to make my cuts with a Xacto knife as clean and smooth as possible. To be totally honest, moving to the dining room floor from the hot garage must've worked wonders because this was the final result:
Back in black.
Wow. It's not perfect; I'm sure any professional will look at what I did and scoff a little, but it sure as hell looks light years better than the dirty, scratch covered abomination I originally came home with.
With the cleanup and wrap done, it was now time to focus on the hardware. I've worked on these machines enough to where I have the basic process on getting my typical selection of upgrades and macOS Mojave installed etched into my brain by now.
Since I had already flashed this machine's firmware from a 4,1 to that of a 5,1 prior to me getting rid of it, this meant I could dive right in and install my CPU and RAM upgrades. This being a dual-CPU model, I chose two Intel Xeon X5690 6-core CPUs and eight sticks of 16GB 1333 MHz DDR3 RAM for a total of 12-cores and 128 GB of RAM.
The 2009 4,1 models require delidded CPUs, however I decided to move away from buying delidded CPUs and instead I bought lidded CPUs. This way they are significantly less expensive, especially if you buy them in bulk and not as a part of "matched-pair" kit - which is just marketing BS and does not matter so long as the model of the CPUs are the same. The downside to doing it this way, is you're gonna have to delid the CPUs yourself.
You can buy delidding tools off eBay for a reasonable price but if you're a cheapskate like me, you're probably wondering how you can do it without one. The most common way of delidding a processor without specialized tools is with a bench vise, but since I don't even have one of those I opted to go with probably the most ludicrous solution I have available: my 3D printer.
I immediately took to Thingiverse and while I found several highly rated delid tools, none of them were big enough to fit the LGA 1366 socket chips like my Xeons. So I downloaded the STLs and modified them in Inventor to fit. After some trial and error, I finally had a tool that could reliably crack the top off these cursed things without too much danger to myself or the chips.
For the GPU, I opted for my usual choice of the Sapphire Pulse RX 580 8 GB. I usually select these cards because it's one of the few choices that Apple officially lists as compatible with macOS Mojave, however there is a slight caveat in that you lose the ability to access the boot screen with the GPU. It's not that the option is gone - you literally just can't see it due to a black screen until the OS fully loads.
This is due to a GPU BIOS compatibility issue and for years the only ways to work around it was either to keep an old GPU on standby that was capable of using the boot screen, or to buy a modern one that was flashed by MacVidCards. Unfortunately the latter option was pretty expensive and their work was all done behind closed doors, so there wasn't any way for someone with the means to replicate it - at least for a little while.
Apparently someone managed to dump a compatible ROM on the net, hence the above tutorial. It's a pretty serious modification, requiring you to replace the entire EEPROM and flash it with a CH341A programmer. I also had to buy a hot air station for the SMD work as neither my cheap-ass soldering iron or heat gun offers either the precision or temperature control needed to do this job correctly. I opted for the Sumsour 858D that cost me less than $40 back in 2022, and it's served me well since thing despite how inexpensive it was.
The IC in question is marked U4521 and I replaced it with an Atmel AT25DF041A-SH, bought off eBay. I had to dump the ROM off the old chip to obtain the correct VRAM information for my specific card, before adding that info to the new image to be flashed. After that, I clipped the new EEPROM into the CH341A, and hit flash. One I got the thing soldered into place, the only way to see if it worked was to fire up the computer with the GPU installed.
And it worked! No more black screen on initial boot, and I could access the drive selector and recovery screens like normal. Crazy the amount of hoops to jump through for a feature that I can't imagine is going to be used in a great capacity - but if shit hits the fan, it's something I definitely wouldn't want to be without either.
Nowadays, I think this type of modification has been rendered more-or-less obsolete by the advancements of the OpenCore project: a custom bootloader that's more agnostic of hardware choice and enables you to run officially unsupported macOS versions on older machines. I did attempt to mess around with it in the early stages of this build, but I couldn't get it to work at the time. The process seems to be a lot more straightforward and well documented these days.
My last hardware addition to the machine was an 500 GB Samsung NVMe M.2 SSD to the machine using an OWC Accelsior 1M2 PCIe card, allowing for much faster R/W speeds than the regular SATA ports can provide. It was a pretty substantial step up from the standard Accelsior S I had been using on prior builds as well. I wish I didn't lose all my pictures since finishing it - it has been two years after all, but it certainly ended up being the best example of this type of computer I've worked on.
Unfortunately, this also likely ended up being the last classic Mac Pro I'll ever work on. There really isn't much of a market for these old behemoths anymore considering the decreasing secondhand prices of the 7,1 Mac Pro, increasing ease of putting together a "Hackintosh" on x86 hardware, and the downright impressive performance of Apple's in-house ARM chips across all their computer offerings. I only managed to break even on my investment into this one, but the person who bought it was pretty happy with it, so I can live with that.
That said, this probably won't be the last time I have a Mac Pro kicking around the house. I'm actually pretty interested into getting another 6,1 "Trashcan" for server use after I dabbled in one a bit back in 2017. It's a monumentally stupid machine compared to the conventional designs of the computers that came before and after it, but I still think it's a neat little device. We'll see when that falls into my lap, but I'm happy to have capped off my run with the good-ol' "Cheese Grater" with this last one.
Anybody who has some knowledge of vintage computer hardware is probably familiar with IBM's Model M and it's novel buckling spring switch. Despite it's ubiquity, it's not actually the only keyboard to use the switch, nor is it the first - and some may argue it certainly wasn't even the best. That distinction would go to the IBM Model F, and thanks to the efforts of a crowdfunded project; you can buy a brand-spanking-new one. Right now. But should you?
I've had a hankering for another Alps equipped keyboard ever since I parted ways with my oddball Datacomp DFK515 and thankfully, that opportunity finally presented itself in the form of what many consider to be the magnum opus. This is the Northgate OmniKey Ultra-T - and it eats IBM Model Ms for breakfast. Despite making a keyboard that holds a lot of reverence among computer users of a certain age - Northgate Computer Systems probably isn't a household name for most of you readers. In short, they were a manufacturer and seller of mail-order computers and peripherals during the 80s and 90s - among which was the OmniKey line of keyboards. The OmniKey ended up being so well liked that many customers just bought them for use with their existing systems. An early "Gold Badge" OmniKey 102. There were six models of the OmniKey. Northgate did sell some rebadged keyboards under the same branding, but we'll just focus on the more well-known originals: OmniKey 101: ANSI lay...
I'm in the process of moving and anticipating being without my main setup for the next two months. Since I'm packing light in terms of hardware, I decided to go shopping for a very portable - but not totally dreadful keyboard. Needless to say, I went a little more overboard than I thought I would.


Comments
Post a Comment